
Then came the fun part: working the tabletop. I started with the aforementioned big ole' slab of oak...

...and cut it in two...

...jointed the adjacent edges and glued them together:

Then I just used the circular saw to cut the length and width that I needed:

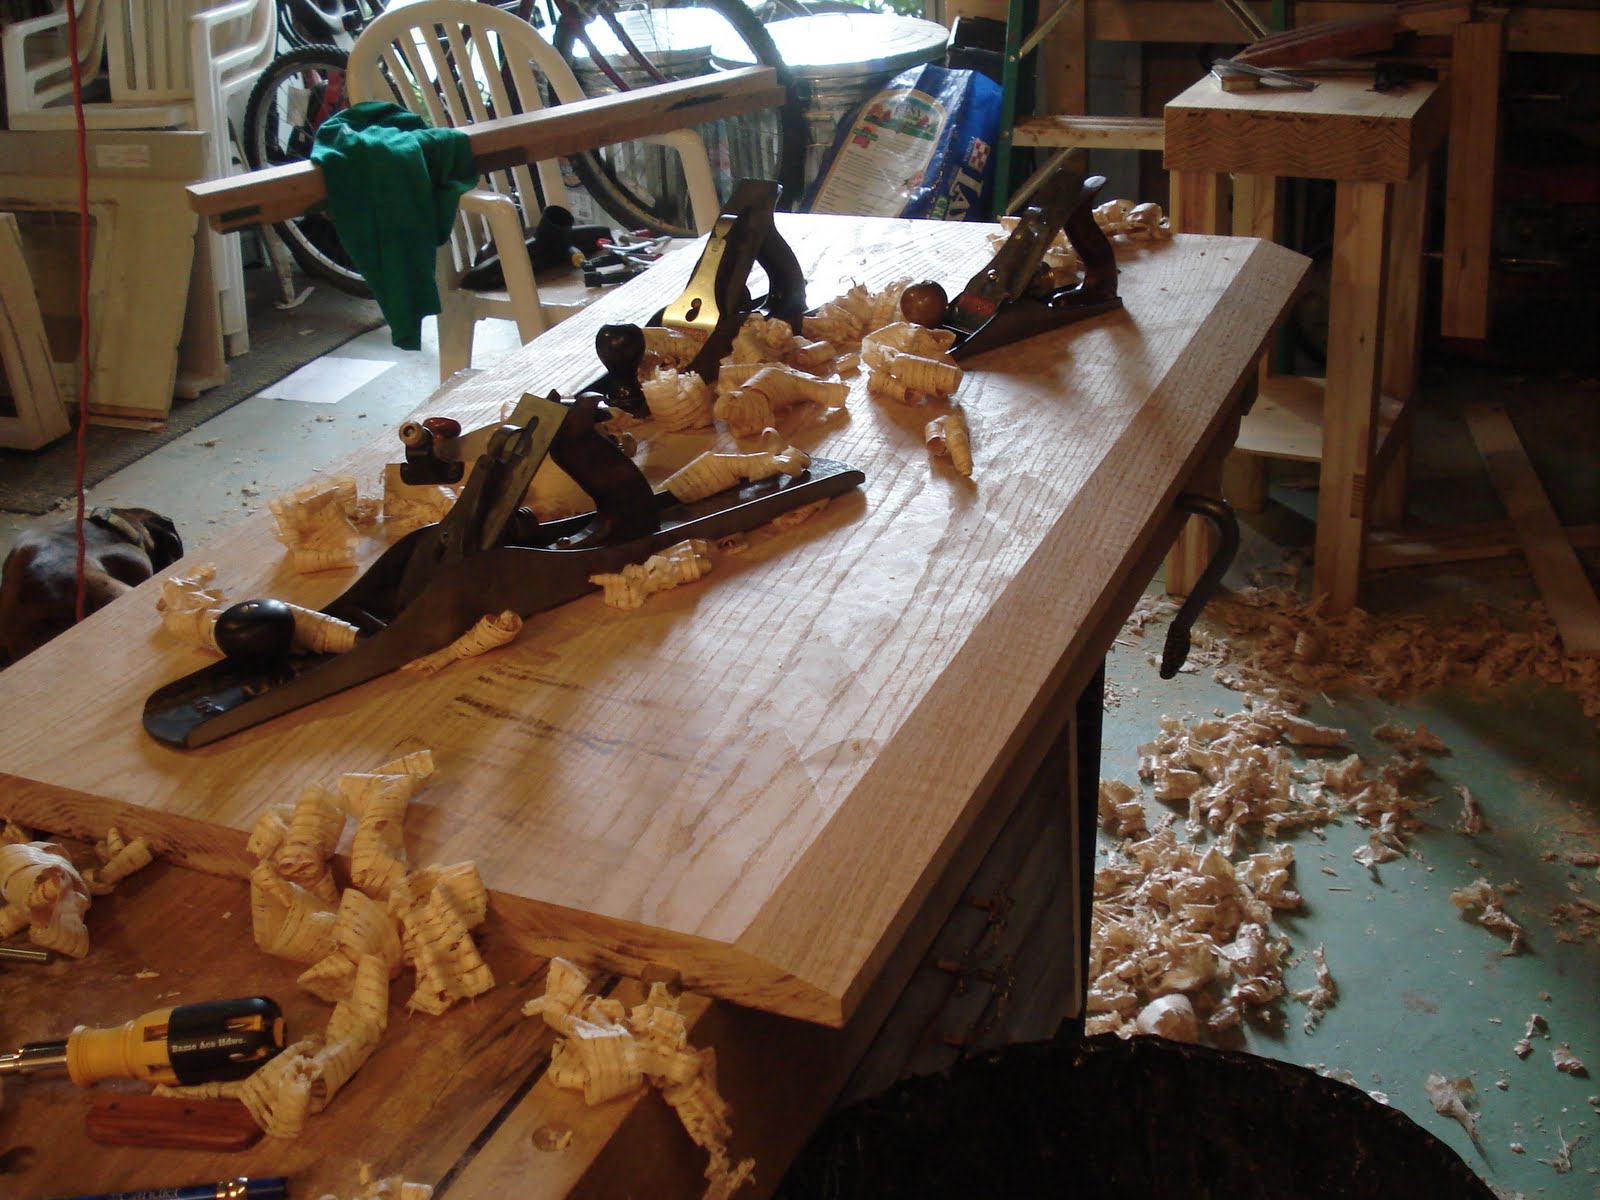
A lot of planing later, the top was smooth, flat, and showed a fair amount of figuring in places:

Jointing the edges of a slab this big is a little more difficult that most pieces. Planes are meant to be used at belt height which wasn't really doable here:

I then started putting the bevel around the underside; here's one edge complete:
The process starts by using an angled fence on the skew block plane to establish the angle of the bevel.

The jointer and fore plane then taken that bevel even further down...

...which provides a good foundation for the scrub plane to come in and hog out lots of stock.

I then come back with the jointer and then the smoothing plane to finish the edge.

I couldn't wait to see what the stained top would look like, so I went ahead and put on a coat or two.

Only one thing to do...

Next I made the brackets that hold the top to the apron. This just involved planing a rebate into a piece of wood...

...cutting that wood into little blocks...


In situ:

With the installed drawer pull.

Looks great! I love the table. Now, what would REALLy tie the room together is a matching side table besire the couch (hint-hint). :-)
ReplyDelete~ the wife
Dude, that rug really tied the room together. ;) Table looks beautiful!
ReplyDeleteCONGRATULATIONS ON YOUR BEAUTIFUL NEW DAUGHTER, JOHN!!!
ReplyDeleteLove, Sarah (the sister)